
How to Use Your SVG in Cricut Design Space
After converting your image to SVG with CraftyGrafix, learn how to import it into Cricut Design Space and clean it up for professional results.
1Import Your SVG
Start by opening Cricut Design Space and creating a new project. Upload your SVG file by clicking the Upload button and selecting your converted SVG file from CraftyGrafix.
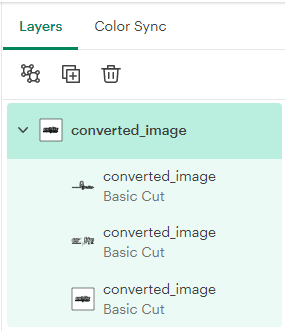
Once imported, your image will appear on the canvas. Look to the right side of the screen to see all the layers that were created during conversion. It should look something like this:
2Review Your Layers
Expand the image layers panel on the right side of Cricut Design Space. You'll see all the color layers from your converted image listed.
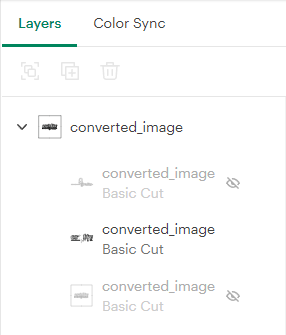
Hiding the layers should look something like this:
Each layer represents a different color from your original image. Look for any unwanted fragments or small speckles that might need to be removed.
3Clean Up Fragments (Optional)
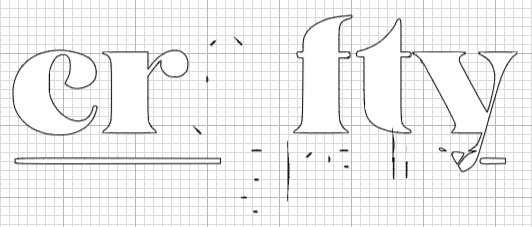
If you notice small fragments or speckles in your design that you don't want, Cricut Design Space has a Contour feature to remove them. Like this:
Once you find a layer with fragments that need to be removed, go to the right side of the screen below the layers panel. You should see a Contour option:
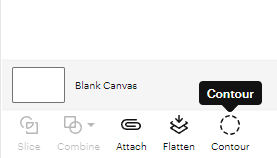
Clicking on the Contour button will allow you to clean up the image:
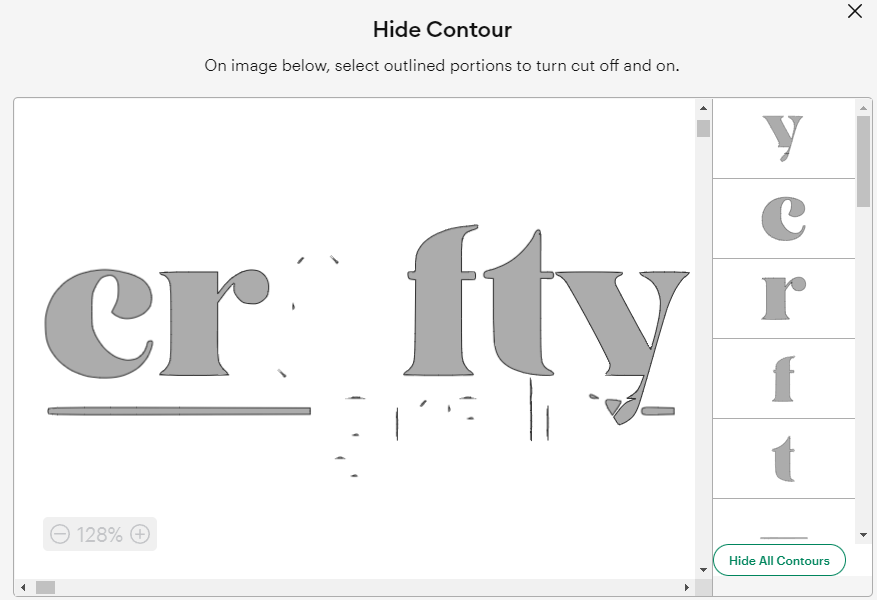
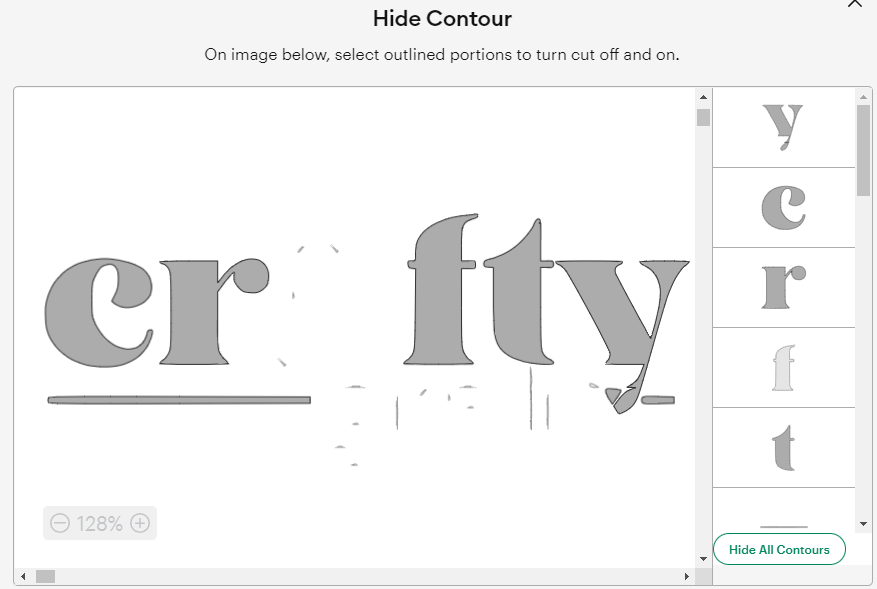
You can either select the fragments that you do not want included, or you can click on Hide All Contours (bottom right) and then click the parts that you want to keep. It depends on how many fragments there are:
4Prepare for Cutting
Once you're satisfied with how your design looks, you can:
- Merge layers if you want a single color cut
- Add text or shapes to complement your design
- Resize or position your image on the mat
- Set cut settings based on your material
5Cut Your Design
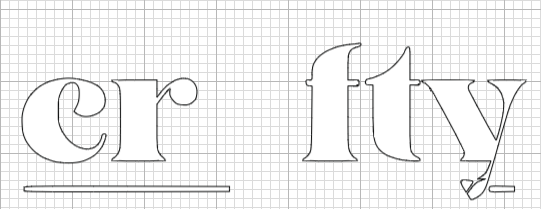
Once you're done with the contour screen, close it out and your image should now look much better:
When you're ready, click Make It to proceed with cutting. Follow Cricut's instructions for loading your material and cutting.
Need Help?
If you have questions about converting your image or using it in Cricut Design Space, feel free to reach out:
Email: crafty.grafix.help@gmail.com
We're here to help with complicated images and custom requests!